How To Paint Your Golf Balls?

Painting your golf balls can help you improve your game by making the ball easier to notice. Find out what you need and how to paint your golf balls.
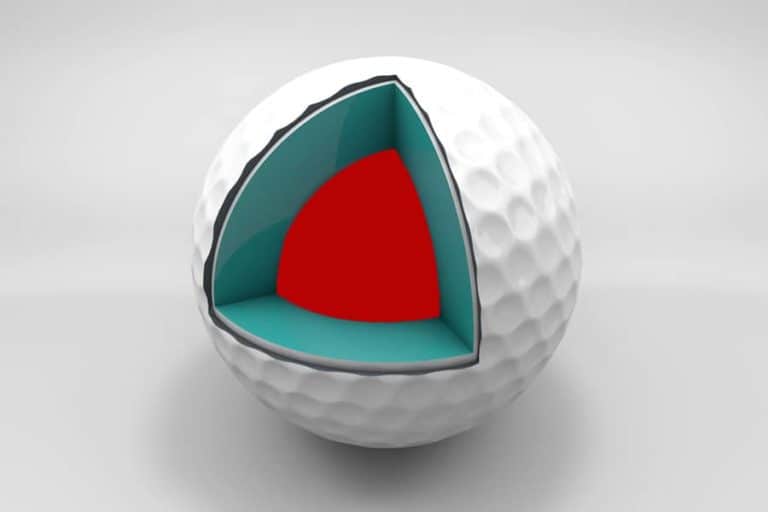
One of the most important pieces of equipment that golfers find is the golf ball. Golf balls are designed with dimples to fly through the air with a spin, making them more aerodynamic than other sports balls.
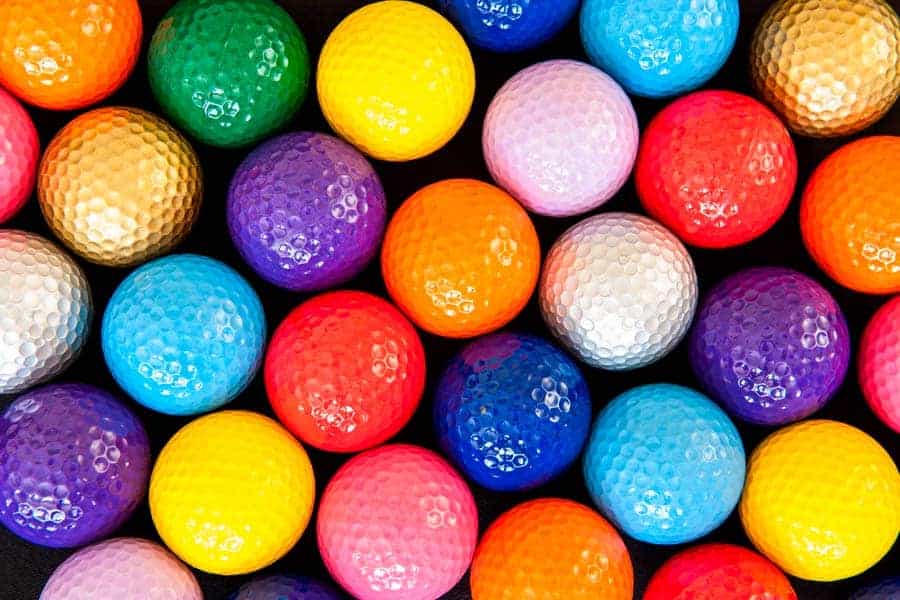
Moreover, if we speak in terms of paint, golfers need to choose a color that is visible against the green of the golf course. Many golfers prefer brightly-colored golf balls, such as yellow or pink. This makes it easier to spot the ball when it is in the air and also makes it more difficult for opponents to hide the ball during a game.
Many golfers even think painting your golf balls is a waste of time. They think that it won’t make a difference in how you play. But the truth is, painting your golf balls can actually help you improve your game. Here’s what you need to know about painting your golf balls, including what you’ll need, the process, and some tips to get the best results.
So, follow these simple steps and tips, and you’ll be hitting those greens in no time!
Materials required for golf ball painting
To paint your golf balls, you will need:
- Golf balls
- Acrylic paint
- Paintbrushes
- Stencils (optional)
- Clear coat sealer or Lacquer Coat (optional)
Step-by-step guide for how to paint your golf balls
A golf ball is an essential item, but it must be in good condition without too many scratches or tears. The paint type is also crucial depending on your purpose; you will choose brush paint or spray paint.
Color paint isn’t the only thing you’ll need to purchase for your polishing project. You would also need a bottle of polishing solution!
The process of painting your golf balls is actually pretty simple. Just follow these steps:
Step 1: Cleaning golf balls
Clean the golf balls. Make sure they are free of any dirt or debris. You can do this by wiping them down with a damp cloth or using a mild soap and water solution.
Note: If the golf balls are new, rub them with sandpaper to remove the slick coat. Because the new balls have a slippery coating, which makes it hard to paint and let it stay for a longer time.
Step 2: Paint Primer
Once you have washed your golf balls, put them in the egg tray to hold them in place and paint a primary coat. Some people prefer using spray paint so that the coverage is as thin as required.
Note: The best way to spray is at a distance from the ball so that color can distribute evenly and not condense at one spot.
Step 3: Paint the preferred color
Now that the first coating is done apply the paint evenly all over the ball. You can use a small paintbrush to apply the paint to the golf ball to have a smooth coat.
Note: If you are using stencils, be sure to place them on the ball before you start painting. Moreover, do keep in mind that if you have painted the ball on one side, do wait until the paint is dry before you flip to the other side.
Step 4: Clear Lacquer Coat
Allow the paint to dry. This usually takes about 24 hours. Once the paint is dry, you can optionally apply a clear coat sealer to help protect the paint and give the balls a better finish.
Step 5: Place them in a cool place
Enjoy your new golf balls and keep them in a cool damp place. Now that they’re all painted up, hit the links and enjoy your game!
Dye golf balls with food colors
Did you know that you can color a golf ball by dying it using food coloring? This may consume a bit of your time, but the new ball would outshine the course and look extremely good.
So, if you are bored with the same regular or common way of painting, do go with this technique and dye your golf balls based on your preference.
Just follow these quick and easy steps that will help you dye your golf balls:
Step 1
Get a container that is big enough to fit all the golf balls that you want to dye.
Step 2
Fill the container with water. You can use boiling water or cold water, depending on what kind of color you want your golf ball to be.
Step 3
Add food coloring to the water. The amount of food coloring you add will determine how dark or light the color of your golf ball will be.
Step 4
Put a paper towel in the mixture to check the color. If you get the desired color, add your golf balls to the mixture and let them sit for at least 30 minutes.
Step 5
Remove the golf balls from the water and let them dry completely.
Step 6
Once they are dry, you can optionally apply a clear coat sealer to help protect the color and give the balls a better finish.
Painting tips
Here are a few tips to help you get the best results when painting your golf balls:
- Use multiple thin coats of paint rather than one thick coat. This will help prevent runs and drips in the painting.
- If you want a glossy finish, use a clear coat sealer after the paint has dried.
- Be creative! You can use stencils or freehand your designs. You can even add personalization like initials or names for identification on the golf course.
Enjoy the game and have fun. This is supposed to be a fun way to customize your game, so enjoy yourself and don’t take it too seriously.
Conclusion
Painting the golf balls is a fun way to add some personality to your game. You can use paint to add a unique touch to your golf balls, or you can use it to improve your game by making the ball easier to see.
Whatever your reason for painting golf balls, the process is relatively simple and only requires a few supplies. So, gather up your supplies and get started on your next polishing of golf balls!


